


Check Modules Exist
You don't need to install time, because time is in standard library.
Without Error Massage!!
import pyautogui
import time
Let's Start!
pyautogui Module
- The pyautogui module can send virtual keypresses and mouse clicks to Windows
If pyautogui Too Fast/Out of Control
- Shutting down everything by logging out
How to Prevent
- Wait n second for each PyAutoGUI function call
- Moving the mouse cursor to the upper-left corner of the screen will raise the pyautogui.FailSafeException
import pyautogui
pyautogui.PAUSE = 1
pyautogui.FAILSAFE = True
Controlling Mouse Movement
Find Cursor Location
- The upper-left corner of the screen (x, y) = (0, 0)
- The x-coordinates increase going to the right, and the y-coordinates increase going down
- All coordinates are positive integers

In [6]:
import pyautogui
pyautogui.size()
Out[6]:
Store the width and height as variables for better readability in your programs
In [7]:
width, height = pyautogui.size()
In [14]:
import pyautogui
for i in range(5):
    pyautogui.moveTo(100, 100, duration=0.25)
    pyautogui.moveTo(200, 100, duration=0.25)
    pyautogui.moveTo(200, 200, duration=0.25)
    pyautogui.moveTo(100, 200, duration=0.25)
In [18]:
import pyautogui
for i in range(5):
    pyautogui.moveRel(100, 0, duration=0.25)
    pyautogui.moveRel(0, 100, duration=0.25)
    pyautogui.moveRel(-100, 0, duration=0.25)
    pyautogui.moveRel(0, -100, duration=0.25)
In [20]:
pyautogui.position()
Out[20]:
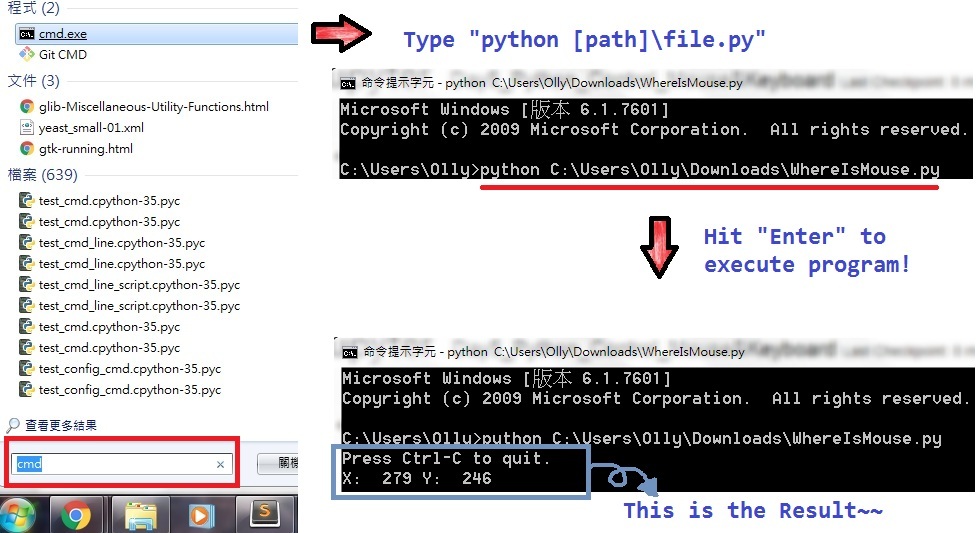
Project : “Where Is the Mouse Right Now?”
Aim :
- Display the current x- and y-coordinates of the mouse cursor.
- Update these coordinates as the mouse moves around the screen.
Step 1: Import the Module
In [22]:
import pyautogui
print('Press Ctrl-C to quit.')
Step 2: Set Up the Quit Code and Infinite Loop
In [ ]:
try:
    while True:
        # TODO: Get and print the mouse coordinates.
except KeyboardInterrupt:
    print('\nDone.')
In [35]:
x, y = pyautogui.position()
positionStr = 'X: ' + str(x).rjust(4) + ' Y: ' + str(y).rjust(4)
print(positionStr, end='')
print('\b' * len(positionStr), end='', flush=True)
Controlling Mouse Interaction
In [25]:
import pyautogui
pyautogui.click(100, 150, button='left')
Equal
In [6]:
import pyautogui
pyautogui.mouseDown(100, 150)
pyautogui.mouseUp(100, 150)
Dragging the Mouse
| Drag | Move | |
|---|---|---|
| pyautogui.dragTo(x, y, duration=0.25) | <==equal to==> | pyautogui.moveTo(x, y, duration=0.25) |
| pyautogui.dragRel(x_pixel, y_pixel, duration=0.25) | <==equal to==> | pyautogui.moveRel(x_pixel, y_pixel, duration=0.25) |
Try to move your cursor on the chrome browser icon during program sleep
In [23]:
import pyautogui,time
time.sleep(3)
pyautogui.dragTo(500, 800, duration=1)
In [24]:
import pyautogui,time
time.sleep(3)
pyautogui.dragRel(500, 0, duration=1)


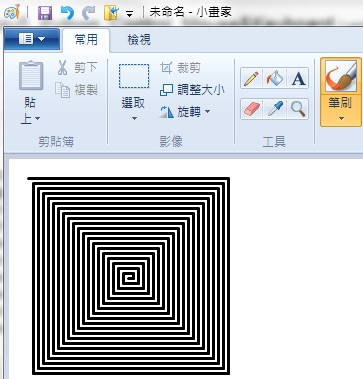
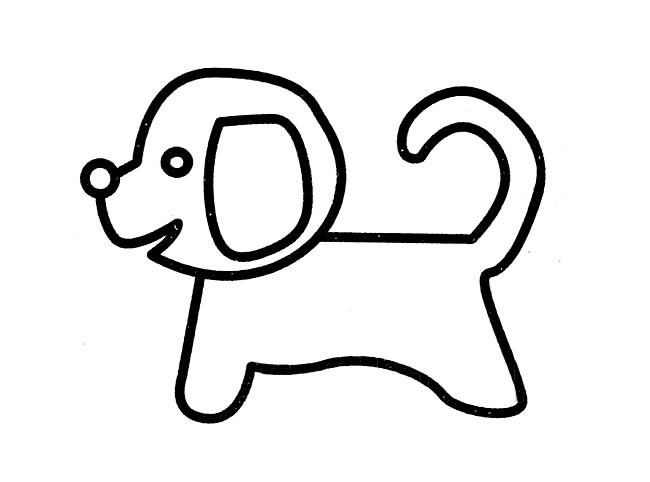
Project : “Drawing with pyautogui”
Aim :
- Create Graphic Automatically
In [25]:
import pyautogui, time
time.sleep(10)
pyautogui.click()
distance = 200
while distance > 0:
    pyautogui.dragRel(distance, 0, duration=0.2)   # move right
    distance = distance - 5
    pyautogui.dragRel(0, distance, duration=0.2)   # move down
    pyautogui.dragRel(-distance, 0, duration=0.2)  # move left
    distance = distance - 5
    pyautogui.dragRel(0, -distance, duration=0.2)  # move up
In [26]:
import pyautogui
pyautogui.scroll(-300)
Oops!!! Something Wrong Above
We can modify the code as below to scroll the mouse successfully
In [28]:
import time, pyautogui
time.sleep(2); pyautogui.scroll(-300)
Working with the Screen
In [33]:
import pyautogui
im = pyautogui.screenshot()
im
Out[33]:

In [34]:
im.getpixel((0, 0))
Out[34]:
In [38]:
pyautogui.pixelMatchesColor(0, 0, (55, 44, 36))
Out[38]:
In [40]:
pyautogui.pixelMatchesColor(0, 0, (56, 44, 36))
Out[40]:
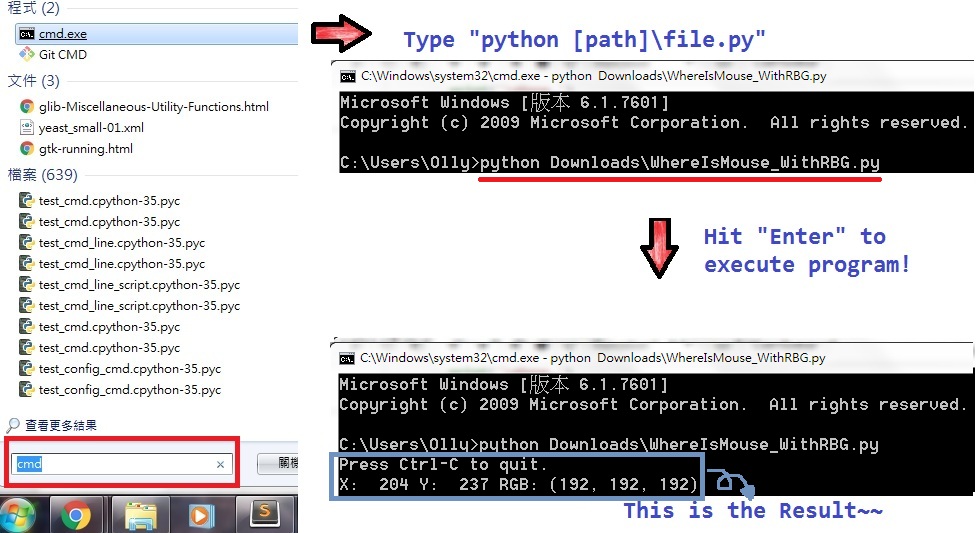
Project: "Extending the WhereIsMouse Program"
Aim
- Add Recognize function for WhereIsMouse program
Add below code into WhereIsMouse.py
pixelColor = pyautogui.screenshot().getpixel((x, y))
positionStr += ' RGB: (' + str(pixelColor[0]).rjust(3)
positionStr += ', ' + str(pixelColor[1]).rjust(3)
positionStr += ', ' + str(pixelColor[2]).rjust(3) + ')'
Download full code here WhereIsMouse_WithRBG.py
#! python
import pyautogui
print('Press Ctrl-C to quit.')
try:
    while True:
        # TODO: Get and print the mouse coordinates.
        x, y = pyautogui.position()
        positionStr = 'X: ' + str(x).rjust(4) + ' Y: ' + str(y).rjust(4)
        # Add Code Here!!!!!
        # Add Code Here!!!!!
        # Add Code Here!!!!!
        # Add Code Here!!!!!
        print(positionStr, end='')
        print('\b' * len(positionStr), end='', flush=True)
except KeyboardInterrupt:
    print('\nDone.')
Execute Program as Below
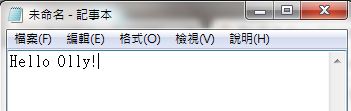
Controlling the Keyboard
In [62]:
import time, pyautogui
time.sleep(10)
pyautogui.click(100, 100)
pyautogui.typewrite('Hello Olly!', 0.25)
In [69]:
import time, pyautogui
time.sleep(10)
pyautogui.click(100, 100)
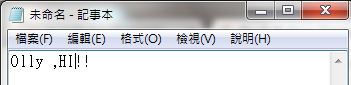
pyautogui.typewrite(['O', 'l', 'l', 'y', '!', '!', 'left', 'left', ' ', ',', 'H', 'I'], 0.25)
| Keyboard Key String | Meaning |
|---|---|
| 'a', 'b', 'c', 'A', 'B', 'C', '1', '2', '3', '!', '@', '#', and so on | The keys for single characters |
| 'enter' (or 'return' or '\n') | The ENTER key |
| 'esc' | The ESC key |
| 'shiftleft', 'shiftright' | The left and right SHIFT keys |
| 'altleft', 'altright' | The left and right ALT keys |
| 'ctrlleft', 'ctrlright' | The left and right CTRL keys |
| 'tab' (or '\t') | The TAB key |
| 'backspace', 'delete' | The BACKSPACE and DELETE keys |
| 'pageup', 'pagedown' | The PAGE UP and PAGE DOWN keys |
| 'home', 'end' | The HOME and END keys |
| 'up', 'down', 'left', 'right' | The up, down, left, and right arrow keys |
| Keyboard Key String | Meaning |
|---|---|
| 'f1', 'f2', 'f3', and so on | The F1 to F12 keys |
| 'volumemute', 'volumedown', 'volumeup' | The mute, volume down, and volume up keys (some keyboards do not have these keys, but your operating system will still be able to understand these simulated keypresses) |
| 'pause' | The PAUSE key |
| 'capslock', 'numlock', 'scrolllock' | The CAPS LOCK, NUM LOCK, and SCROLL LOCK keys |
| 'insert' | The INS or INSERT key |
| 'printscreen' | The PRTSC or PRINT SCREEN key |
| 'winleft', 'winright' | The left and right WIN keys (on Windows) |
| 'command' | The Command () key (on OS X) 'option' The OPTION key (on OS X) |
Pressing and Releasing the Keyboard
In [72]:
import time, pyautogui
time.sleep(10)
pyautogui.click(100, 100)
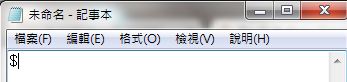
pyautogui.keyDown('shift')
pyautogui.press('4')
pyautogui.keyUp('shift')
In [95]:
import pyautogui
pyautogui.keyDown('ctrl')
pyautogui.keyDown('a')
pyautogui.keyDown('c')
pyautogui.keyUp('c')
pyautogui.keyUp('a')
pyautogui.keyUp('ctrl')
Equal
In [94]:
import pyautogui
pyautogui.hotkey('ctrl', 'a', 'c')
Exercise
Answer
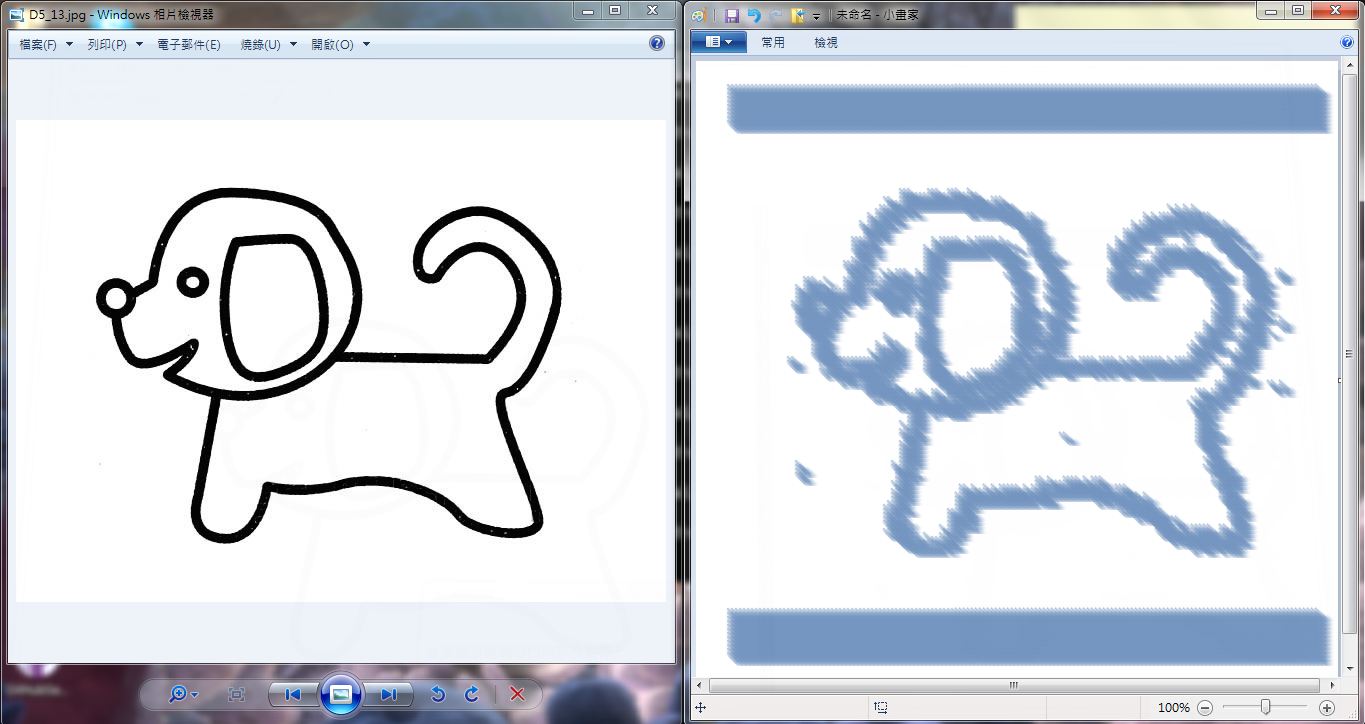
#! python
import time, pyautogui
time.sleep(5)

try :
    for i in range(30, 620, 4):
        for j in range(80, 650, 4):
            # Recognition color
            pixelColor = pyautogui.screenshot().getpixel((i, j))
            if pixelColor != (255, 255, 255):
                pyautogui.click(i+700, j)
                pyautogui.dragTo(i+700+10, j+10)
except KeyboardInterrupt:
    print('\nDone.')